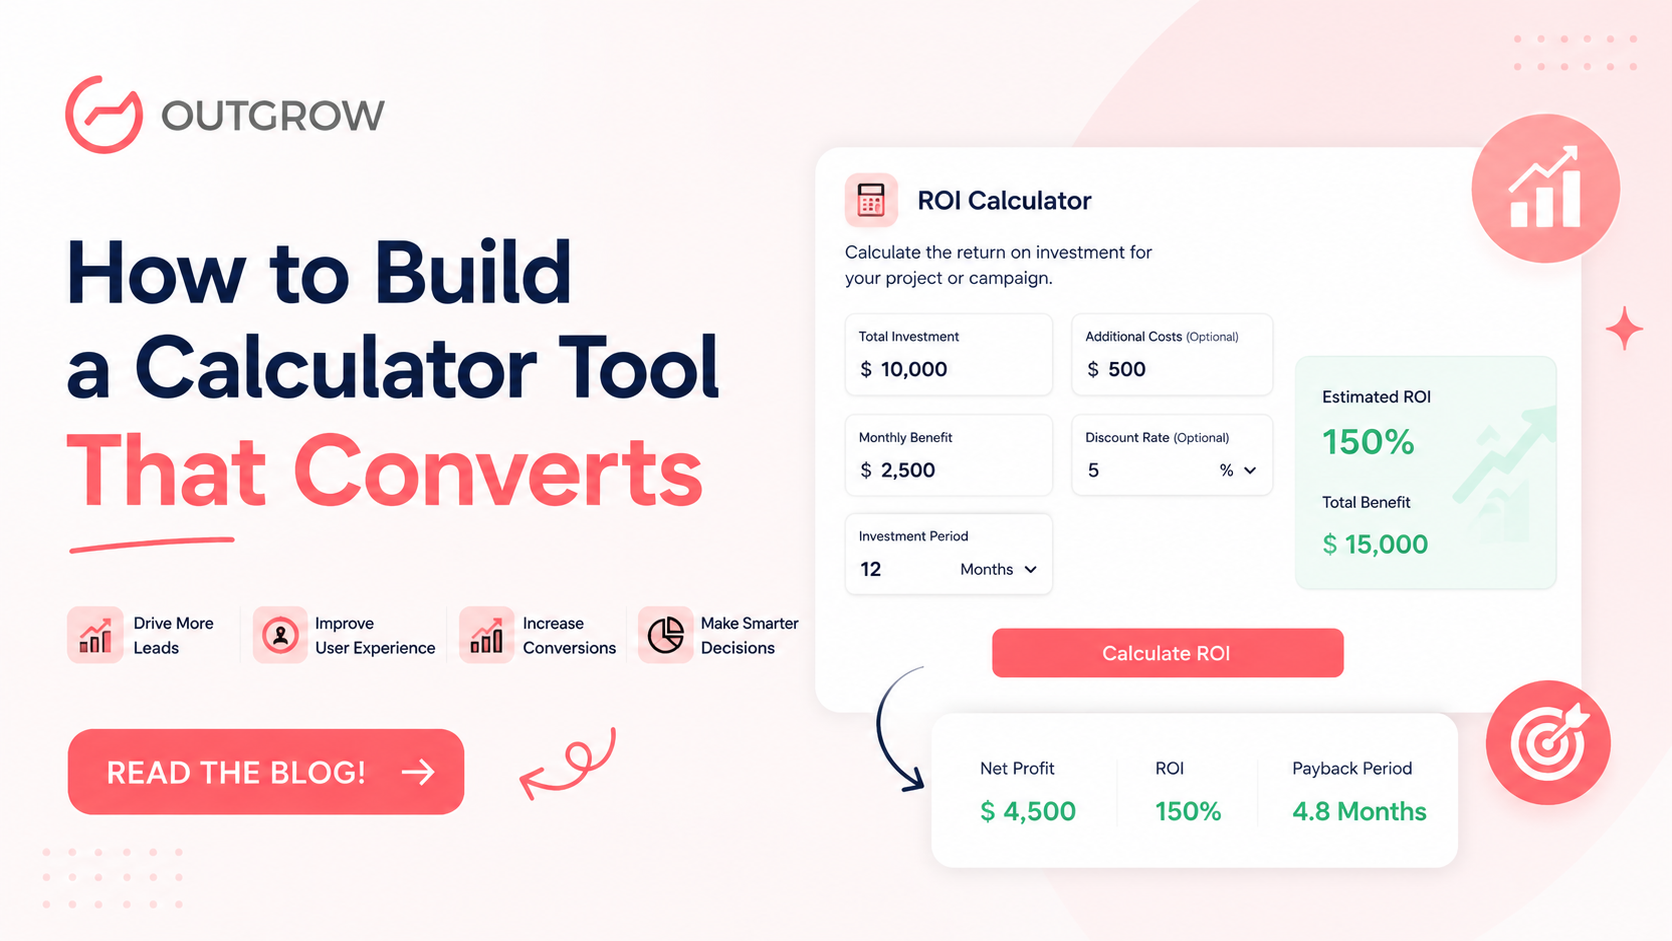
How to Build a Calculator Tool That Converts
Table of Contents
Most marketing teams know they need more leads. What they don’t always know is that one of the highest-converting tools sitting right in front of them is a well-built interactive calculator. Not a whitepaper. Not a webinar. A calculator, something a potential buyer can actually use to answer a question they already have.
If you’ve been wondering how to build a calculator that does more than just crunch numbers, one that captures qualified leads, warms prospects, and feeds your CRM with real intent data, this is the guide you need. We’ve written it as the central hub for every calculator type Outgrow supports, so whether you’re starting from scratch or upgrading an existing tool, you’ll find exactly what you need here.
Outgrow’s own data shows interactive calculators generate roughly 2x more conversions than static content like PDFs or blog posts. The reason is simple: a calculator gives something back. A visitor puts in real numbers about their business and gets a personalized output that means something to them. That exchange- useful information in return for their attention- is what makes calculators so effective at generating leads that actually convert downstream.
But here’s the thing most marketers get wrong. They build calculators that are too complicated, gate the results before users see any value, and never connect the output to their CRM. They end up with a tool that gets some traffic but doesn’t drive revenue. This guide is about fixing all of that.
We’ll walk through every stage, choosing the right type, writing the formula, designing the UX, setting up lead capture, integrating with your CRM, and building the internal link structure that gives this content its long-term SEO value. Use the table below to find your starting point, then work through the sections that apply to your situation.
Which Type of Calculator Should You Build?
Before you open any builder or write a single formula, you need to settle one question: what type of calculator actually fits your audience’s stage in the buying journey? This matters more than most people realize. A calculator designed to show ROI works brilliantly at the top of the funnel, where buyers are trying to justify exploring a new solution. That same calculator falls flat at the bottom of the funnel, where someone already sold on the category just wants to know what they’ll pay.
The first real decision in learning how to build a calculator is matching the tool to the moment.
Here’s a quick-reference selector table covering the six most effective calculator formats:
| Calculator Type | Best For | Key Inputs | Primary Output | When to Use |
| ROI Calculator | B2B SaaS, services | Current cost, time saved, team size | $ saved / % ROI | Top-of-funnel awareness, ABM |
| Cost Savings Calculator | Ops, logistics, HR tech | Manual hours, error rate, headcount | Annual savings | Mid-funnel nurture, demo follow-up |
| Price Quote Calculator | eCommerce, agencies, SaaS | Plan tier, usage volume, add-ons | Monthly/annual price | Bottom-of-funnel, near purchase |
| Product Configurator | Manufacturers, complex SaaS | Specs, features, quantity | Custom build + price | High-consideration B2B or B2C |
| Lead Qualifier | Agencies, consultants, enterprise | Company size, budget, goals | Fit score or recommendation | Top-of-funnel filtering, SDR prep |
| CAC Calculator | Growth teams, CFOs | Ad spend, salaries, tools, new customers | CAC + payback period | Thought leadership, investor content |
Each calculator type is covered in depth in its own guide:
- ROI Calculator Guide: best for B2B SaaS and services at top of funnel
- Cost Savings Calculator: ideal for mid-funnel nurture campaigns
- Price Quote Calculator: perfect for bottom-of-funnel, high purchase intent
- CAC Calculator Guide: use for growth teams, CFO-level content, and investor audiences
- Conversion Rate Calculator: great for marketing and performance teams
- Website Calculator Overview: the meta guide to embedding calculators on your site
Not sure where to start? Use Outgrow’s Templates library to browse calculators by industry and use case. Most can be customized and live in under 30 minutes.

Define Your Inputs and Write the Formula
Once you’ve chosen your calculator type, the next step is the one that trips up most teams: actually designing the input logic and writing the formula. This is where many calculators fall apart, not because the math is wrong, but because the inputs are overwhelming or the formula output doesn’t connect to how buyers actually think about their problem.
There are three rules worth treating as non-negotiable when you’re figuring out how to build a calculator that people will actually complete.
Rule 1: Keep Inputs Under 5
This sounds aggressive, and it is, intentionally. Every input field you add to a calculator is another micro-decision you’re asking the user to make. Each one adds friction.
The discipline required here is not technical. It’s editorial. You have to look at every field you want to include and ask: does this directly feed the output formula, or am I including it because it feels useful to know? If it’s the latter, cut it.
A good example from the SaaS world: an ROI calculator for a project management tool might be tempted to ask about industry, company size, number of projects, team structure, current tools, and monthly budget. In reality, you only need three things: current weekly hours lost to manual coordination, average team size, and blended hourly rate. Those three inputs produce a defensible annual cost figure. Everything else is noise.
One caveat: if you’re building a product configurator for a complex B2B product, five fields might genuinely not be enough. In that case, use progressive disclosure, more on that below, to spread inputs across steps so users never face more than three or four at a time.
Rule 2: Use Sliders, Not Text Boxes, Where Possible
Sliders do several things at once that text inputs don’t. They reduce the cognitive effort of entering a value because the user is choosing from a range rather than inventing a number. They implicitly communicate what’s “normal”; a slider running from $5,000 to $500,000 on a monthly marketing budget field tells the user what kind of businesses the tool is designed for. And on mobile, they’re dramatically easier to interact with than tapping into a text field and using a numeric keyboard.
There are situations where text input is the right call: when the answer requires precision (like an exact employee headcount), or when a slider range would be too wide to be meaningful. But as a default, sliders win.
For website calculators embedded in landing pages or blog posts, mobile usability is especially important. More than half of web traffic is mobile, and calculators that work smoothly on a phone, with large tap targets, stacked inputs, and sliders, will see materially higher completion rates than ones designed only for desktop.
Rule 3: Show a Range, Not a Hard Number
This is the rule that makes the biggest difference to how buyers perceive your calculator output, and it’s also the least intuitive one.
A calculator that outputs a single hard number, “Your estimated annual savings: $142,800”, sounds precise. But that precision is exactly the problem. Any experienced buyer, especially one at the director level or above, immediately wonders: where did that number come from? Is this just inflated to make the product look good? What assumptions did you make?
A range, “Based on your inputs, companies like yours typically save between $120,000 and $170,000 per year,” lands completely differently. It signals honesty. It acknowledges that your formula is an estimate, not a prophecy. And counterintuitively, it actually builds more trust in the number than a single figure does, because it doesn’t overclaim.
The practical implementation is simple: build a ±15 to 20 percent band around your midpoint estimate. Show the midpoint in large type as the headline result, and show the range in smaller text directly below it. Then add a benchmark line, something like “Companies in your segment typically see $80,000 to $200,000 in annual savings” to give the buyer market context they can use internally.
For the formula itself, keep the math clean. Use standard business formulas wherever possible. If your formula involves proprietary assumptions, add a collapsible “How we calculated this” section below the result. Enterprise buyers especially will click it, and the transparency builds credibility.
Design the UX So Results Feel Trustworthy
There’s a version of this where you build a technically solid calculator with a well-researched formula and accurate outputs, and it still doesn’t convert. The reason is usually UX. How a calculator looks and feels determines whether users trust the result enough to act on it. This is the part of learning how to build a calculator that most guides skip over, and it’s often where the biggest gains are hiding.
Show Your Assumptions Clearly
The single most effective UX trust signal in a calculator is showing your work. After the result screen loads, don’t just show the number; show a summary of what the user entered alongside the key assumptions your formula applied.
This does two things. First, it lets the user check the inputs and catch any mistakes, which means they trust the process. Second, it makes the output feel earned rather than generated. The buyer isn’t just reading a number; they’re reading a conclusion that follows from their own data.
For enterprise deals, this matters even more. The person filling in your calculator is often not the final decision-maker. They need to take the result to a VP or a CFO and defend it in a meeting. A clean assumptions summary turns your calculator output into something they can present, which dramatically increases the chance it moves a deal forward.
Why Ranges Outperform Exact Numbers
This point deserves its own section because so many teams resist it. Finance backgrounds especially tend to push for precise outputs because precision feels more professional. In practice, the opposite is true.
A CFO evaluating your product isn’t going to be impressed by a calculator that says they’ll save exactly $187,432 next year. They’ll be skeptical. They know their business is more complicated than four slider inputs. A range, an honest acknowledgment that this is an estimate with real variance, actually earns more trust, not less.
Display format that works well: headline figure (midpoint, or the conservative end if your product tends to underperform expectations) in large type, range below in smaller type, benchmark comparison below that. Three layers of information, each one adding context rather than replacing it.
Progressive Disclosure and Mobile-First Design
Start your calculator with the two or three inputs that have the highest impact on the output formula. Let users get an initial result quickly, even a rough one, before asking for additional detail. This “quick estimate first, refine later” pattern keeps users engaged because they see value before they’ve done much work.
On mobile, this matters even more. Multi-column input layouts collapse badly on small screens. Horizontal sliders can become unusable. Test your calculator on an actual phone, not just a resized browser window, before you publish it. The most common calculator UX failures show up on mobile and nowhere else.
Keep button labels specific. “Calculate my savings” converts better than “Submit.” “See my ROI estimate” converts better than “Get results.” The label should describe what’s about to happen, not just confirm that the user pushed a button.
Add Lead Capture Without Killing Completion Rate
This section matters a lot, because the lead gate is where most calculator strategies fall apart. Teams build a good calculator, then undo all the work by putting a form in front of the result. Visitors who might have converted leave before they’ve seen the value. The completion rate tanks. The team assumes the calculator isn’t working, when actually the gate is the problem.
The golden rule when learning how to build a calculator for lead generation: gate after value, not before it.
The “Value First” Gate Model
Let the user complete the calculator and see their result before you ask for anything. The full result, not a teaser, not a blurred-out preview, but the actual output. Once they’ve seen a number that means something to them, then introduce the lead capture form. Frame it around extending the value: “Get a detailed PDF breakdown of this estimate” or “Send these results to your inbox” or “Share with your team.”
This sequencing works because the user already knows the calculator output is useful. They’ve seen it. You’re asking them to trade their email for more of something they’ve already decided they want, not for access to something they haven’t evaluated yet.
The numbers behind this are striking. Calculators that gate after the result typically capture leads at 40 to 50 percent of visitors who reach the result screen. Pre-result gates, in Outgrow’s data, average under 15 percent. That’s a three-to-four-times difference in lead capture rate, from a single sequencing decision.
Ask Maximum 3 Fields
For most B2B calculators, the right lead capture form has three fields: first name, work email, and company name. That’s it. If your qualification process needs more information, use the calculator inputs themselves; pass them silently to your CRM as part of the lead record. A visitor who entered a $400,000 annual marketing budget into your calculator is already qualified. You don’t need to ask them their job title.
One exception worth noting: price quote calculators can reasonably ask for a phone number as a fourth optional field. If someone has just configured a $50,000 annual contract in your pricing calculator, they probably expect a call. Asking for a number in that context feels natural rather than intrusive.
For ROI calculators at the top of the funnel, two fields- name and work email are often better than three. You want as little resistance as possible between the user and the moment they hand over their contact details.
A note on what not to ask: don’t add a “How did you hear about us?” field to your post-result gate. It’s the wrong moment. You’ll get it from UTM parameters and attribution tools anyway, and adding it at that stage interrupts the conversion momentum you’ve just spent several steps building.
Sync Calculator Results to Your CRM
The most underused part of the entire calculator build process is what happens after the lead is captured. Most teams treat the calculator as a lead generation tool, which it is, but miss the fact that it’s also the richest qualification signal their CRM will ever receive. The user’s inputs tell you exactly what they care about, what their business looks like, and what outcome they’re hoping for. That data is infinitely more useful than a contact form that just captures a name and email.
Getting this right is a core part of understanding how to build a calculator that drives revenue rather than just contacts.
| CRM | Integration Method | Data Passed | Setup Path |
| HubSpot | Native embed + hidden fields | Score, inputs, result value | Outgrow > Integrations > HubSpot > Map fields |
| Salesforce | Zapier or native connector | Lead fields + calculator outcome | Outgrow > Integrations > Salesforce > Lead object |
| Marketo | Webhook + Munchkin ID | Form data + result as custom field | Outgrow > Integrations > Marketo > Webhook URL |
HubSpot Integration

Outgrow connects to HubSpot natively, passing calculator inputs and outputs as custom contact properties. To set it up, go to Integrations > HubSpot inside your Outgrow dashboard, authenticate your HubSpot account, and map each calculator field to the corresponding HubSpot contact property.
Once connected, you can trigger HubSpot workflows based on calculator outcomes. For example: any contact who calculated an ROI above 200% gets automatically enrolled in your high-intent sales sequence. Any contact who ran a cost savings calculation with a headcount over 100 gets assigned to enterprise SDR outreach. The calculator result becomes the enrollment trigger; no manual scoring required.
See the Outgrow HubSpot setup guide → https://support.outgrow.co/docs/hubspot-integration
Salesforce Integration
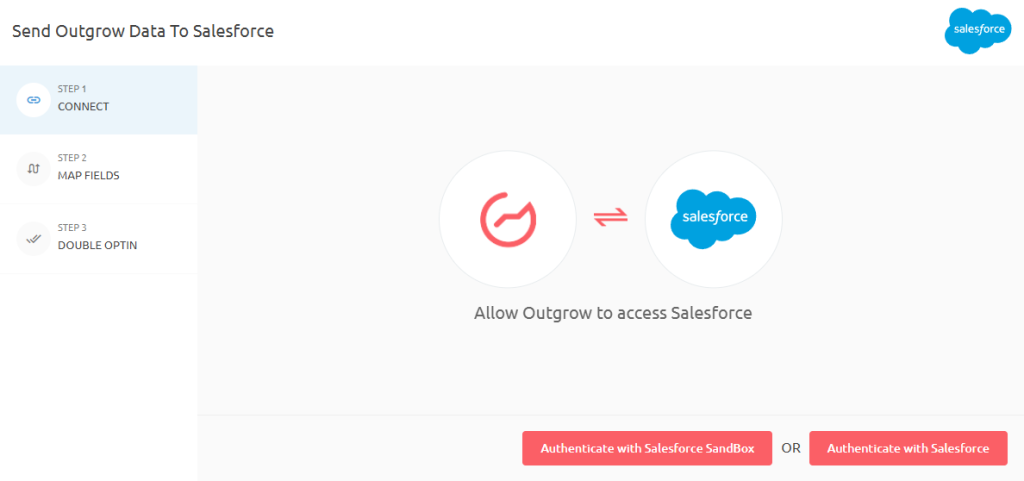
Connect via Outgrow’s native Salesforce connector or route through Zapier if you need custom field mapping. Map the calculator data to your Salesforce lead object, and critically, create a custom lead field specifically to hold the calculator result value.
Why does this matter? Because when your SDR opens a lead record and sees “Calculator result: $240,000 projected annual savings, 4.1-month payback period” right there in Salesforce, they have a much better conversation starter than “I saw you downloaded our calculator.” The output data transforms cold outreach into a warm, personalized conversation.
See the Outgrow Salesforce setup guide → https://support.outgrow.co/docs/salesforce-integration
Marketo Integration

The Marketo integration uses a webhook. You’ll need your Marketo Munchkin ID and a custom field created in advance in your Marketo instance. When a user completes the calculator and submits the lead form, Outgrow fires a webhook that posts all the field data, including the calculator result, to Marketo.
This enables smart list segmentation based on calculator outcomes. Leads who calculated high savings get added to a high-priority nurture track. Leads who calculated modest savings get routed into a long-form educational sequence. The calculator output drives the segmentation automatically.
See the Outgrow Marketo setup guide → https://support.outgrow.co/docs/marketo-integration
Embedding and Tracking
Outgrow generates a JavaScript embed snippet for every calculator. Drop it into any HTML page, WordPress post, HubSpot landing page, or Webflow section. For website calculators embedded in content pages, positioning matters: place the embed immediately after a statement that sets up the value of using it, not at the very top of the page where the reader has no context yet, and not buried so far down that most readers never reach it.
For GA4 tracking, enable Outgrow’s built-in GA4 event triggers. Set up two conversion events: “calculator_result_viewed” and “calculator_lead_captured.” These become your top two conversion milestones in GA4 and let you measure the calculator’s contribution to pipeline separately from other lead sources.
Advanced Tips for High-Converting Calculators
Add a Payback Period Output
For any calculator where the output includes a dollar value- ROI calculators, cost savings calculators, pricing tools- add a payback period line to the result screen. The formula is simple: Payback Period (months) = Implementation Cost ÷ Monthly Savings.
The reason this works is that payback period is more viscerally concrete than a percentage or an annual figure. “A 280% ROI” requires mental processing. “You’ll recover your investment in 3.8 months” lands immediately. For buyers who are close to a decision but need to justify it internally, that line can be the thing that pushes them over.
Add Benchmark Comparisons
Buyers use benchmarks to calibrate whether their result is good, bad, or average. A cost savings result of $85,000 per year means more when the calculator also tells them that similar companies typically save between $70,000 and $120,000. Now they know they’re in range — or they know they have room to improve, and your product is positioned as the thing that gets them there.
For CAC calculators, include an industry CAC benchmark table so visitors can see where their customer acquisition cost sits relative to their sector. This is particularly effective for thought leadership content targeting CFOs and growth leaders, who benchmark obsessively.
A/B Test Your CTA Copy
Generic CTAs lose. “Get started” and “Talk to sales” are the two most common CTAs on calculator result screens, and they’re also among the weakest. The problem is that they pivot away from the output the user just saw. They shift the frame from “here’s your result” to “now do something for us.”
CTAs that reference the result directly, “Send me this $140K savings estimate” or “Book a call to confirm this ROI”, stay in the frame of the calculator. They feel like a natural next step rather than a sales ask. Test two or three variations using Outgrow’s built-in A/B testing (available on Business plans) and let the data decide.
Building Your Own Calculator with Outgrow

With the strategy clear, here’s the full tactical walkthrough for how to build a calculator in Outgrow from scratch:
- Pick a template. Outgrow has calculator templates across industries. Start with whichever one is closest to what you need and modify from there.
- Define your formula logic. Open the Outgrow formula editor and map each input field to the output calculation. Keep inputs under five. Use sliders for numerical ranges. Review the formula output at multiple input values to check for edge cases.
- Design the result screen. Build in a range display (not a hard number), a benchmark context line, and a payback period if the output is financial. Add a collapsible “How we calculated this” section for enterprise credibility.
- Configure lead capture. Set the form to appear after the result, not before it. Limit to three fields for most calculator types. Write a CTA that references the result the user just saw.
- Connect your CRM. Use the Outgrow integrations panel to map calculator inputs and the result value to your CRM contact or lead fields. Test the integration end-to-end before publishing, enter test data, submit the form, and confirm the data appears in your CRM correctly.
- Embed the calculator on your target page. Test on desktop and on an actual mobile device. Check load time; calculators that take more than two seconds to appear see higher abandonment.
- Set up GA4 conversion events. Enable the Outgrow GA4 integration and verify that both “calculator_result_viewed” and “calculator_lead_captured” events fire correctly.
- Add internal links. Link from this hub to each subtype guide. Then go into each subtype guide and link back to this hub. This is the loop that drives organic authority over time.
- Review and optimize after 30 days. Check completion rate, lead capture rate, and CRM data quality. If completion rate is low, reduce inputs. If lead capture rate is low, check your CTA copy and form field count. If CRM data is patchy, check field mapping.
Calculator Templates to Get Started Fast
Building from scratch is always an option, but Outgrow’s Templates library exists specifically so you don’t have to. The library includes fully customizable calculators across SaaS, eCommerce, finance, HR, healthcare, and agency verticals. Each template ships with a ready-made formula, a configured input layout, and a result screen design that follows the conversion best practices outlined in this guide.
Templates like:
- SaaS ROI Calculator Template
- Agency Price Quote Template
- HR Cost Savings Template
- E-commerce Conversion Rate Template
- B2B CAC Calculator Template
Outgrow Pricing for Calculator Builders
Outgrow supports calculator building across all plan tiers. The Freelancer plan is a good starting point if you want to test a single calculator concept without a large upfront commitment. Essentials and Business plans unlock the CRM integrations, A/B testing, and customization features that make calculators genuinely powerful lead generation tools at scale.
See the full feature breakdown: https://outgrow.co/pricing/
Start Building Your Calculator Today!
If there’s one thing to take away from this guide, it’s that the gap between a calculator that generates traffic and one that drives real pipeline is almost never the formula. It’s the decisions around inputs, result design, lead capture sequencing, and CRM integration that separate the tools that convert from the ones that don’t.
You now have the full framework for how to build a calculator that does all of it well. Pick your type, keep inputs tight, show a range your buyers will trust, gate after value, not before, and make sure every lead that comes through carries the result data with it into your CRM.
Ready to build? Start your Outgrow’s 7-day free trial and launch your first calculator today.

Frequently Asked Questions
Starting from one of Outgrow’s pre-built templates, most marketers have a working calculator live within 30 to 60 minutes. Building from scratch with custom formula logic typically takes two to four hours depending on complexity.
No coding knowledge is required. Outgrow’s formula editor uses a point-and-click interface for mapping inputs to outputs, and the embed code is a single JavaScript snippet you paste into your page. Most marketing teams build and deploy calculators entirely without developer involvement.
High-performing placements include dedicated landing pages, relevant blog posts immediately after an introduction that sets up the value, and product or solution pages near the pricing section. For website calculators designed to capture leads, a standalone landing page with minimal navigation distractions tends to produce the highest lead capture rates.
Yes, and conditional logic is the feature that makes it work. Outgrow supports branching logic that shows different follow-up inputs or result screens based on earlier answers.
Track four metrics: completion rate (percentage of visitors who reach the result screen), lead capture rate (percentage of result-screen viewers who submit the form), lead quality (are the CRM records clean and complete?), and downstream conversion rate (what percentage of calculator leads convert to pipeline or closed revenue within 90 days).
Sakshi is a digital marketing enthusiast passionate about connecting brands with audiences. With a background in content strategy and social media, she loves turning trends into actionable strategies. Outside of work, you’ll find her reading a book or hunting for the perfect cup of coffee.